


Mr Quyen - Santiago. Posted 03/11/2026
To install a PVC tile roof, check the frame and a slope of 20 – 45%, fix purlins less than 700 mm apart under the foot of a tile step, lay the sheets side by side with one wave of lap, pre-drill 6 mm holes on the top of the wave and fix 70 mm screws with ASA caps, then fit the ridge. A 100 m² gable roof takes 28 sheets, 400 – 500 screw sets and 12.7 m of ridge cap.

Riverside house with a brown tile-sheet roof, Can Gio, Ho Chi Minh City, Vietnam
Who is this installation guide for?
This guide is for roofing crews in Colombia, Peru, Ecuador, Chile and Mexico who already build metal or fibre-cement roofs and are laying a teja colonial en PVC for the first time. Most of the work is familiar. The differences are the purlin spacing, where the screw goes and the order in which the ridge pieces go on. Words change between countries: the purlins are correas in most of South America and polines or largueros in Mexico; the ridge cap is the caballete or cumbrera.
Santiago supplies the sheets and accessories and sends installation videos with each order. It does not install. The sheet used here is the Santiago Spanish-style tile sheet: 1.05 m wide, 0.96 m cover, a 219 mm tile step, 2.5 mm thick.
What materials does a 100 m² PVC tile roof need?
A 100 m² gable roof needs 28 sheets, 400 – 500 screw sets and the ridge pieces listed below. The example house is 12.7 m long. Each roof face measures 3.94 m from ridge to eave edge, which is exactly 18 tile steps (18 × 219 mm = 3,942 mm), so the two faces come to about 100 m².
| Material | Quantity | How it was worked out |
|---|---|---|
| Tile sheets, 2.5 mm | 28 sheets of 3.94 m (about 110 running m) | 12.7 m ÷ 0.96 m = 13.2, so 14 sheets per face, 2 faces |
| Purlins at 660 mm | 7 lines per face, 14 lines of 12.7 m (about 178 m) | 18 steps ÷ 3 steps (657 mm) = 6 spaces, so 7 purlins |
| Screws 70 mm with ASA caps | 400 – 500 sets | 100 m² × 4 – 5 sets per m² |
| Ridge cap (caballete) | 12.7 m | Length of the ridge |
| Ridge terminals | 2 | One at each gable end |
| Eave sealing tile | 25.4 m | Both eaves, 2 × 12.7 m |
| Vertical wall flashing | Only where the roof meets a higher wall | Measured on site |
| Weight of the sheets | About 540 kg | 100 m² × 5.4 kg per m² |
Fourteen sheets cover 13.44 m, which is 74 cm more than the building. Either cut down the last sheet on each face in width, or let about 37 cm hang over each gable. Decide before ordering, because the overhang adds 74 cm to the ridge cap as well.
Step 1: Is the frame ready for a PVC roof?
The frame is ready when it is straight, in one plane and pitched between 20% and 45%. A 20% slope rises 20 cm for every metre measured horizontally, so a face with a 3.6 m horizontal run must rise between 0.72 m and 1.62 m. Steel and timber frames both work. Run a string line across the rafters before anything else: a rafter that sits high or low shows up later as a sheet that rocks or a lap that will not close.
Step 2: Where do the purlins go?
The purlins go 440 or 660 mm apart, never 700 mm or more, with each one under the foot of a tile step. The figures come from the tile step: 2 steps of 219 mm is 438 mm and 3 steps is 657 mm. The easiest way to get the positions right is to lay one sheet on the ground, mark the foot of every second or third step with chalk, and transfer the marks to the rafters. The top purlin sits 15 – 18 cm below the ridge so the ridge cap has something to screw into. Choose 440 mm where wind is strong or where people will walk on the roof for maintenance.
Step 3: How are the sheets stored, carried and cut?
Sheets arrive cut to the lengths on the order, so most roofs need very little cutting. Keep them flat on level ground with nothing heavy on top. Carry long sheets with two or more people, flat, and never fold or drag them. Cuts on site are usually the width of the last sheet on a face and the diagonal along a hip. Mark the line with chalk, support the sheet on both sides of the cut, and follow the cutting shown in Santiago's installation video.
Step 4: How do you lay and fix the sheets?
- Start at one gable end and square the first sheet to the eave with a string line.
- Lay the next sheet so it laps the first by one wave.
- Pre-drill 6 mm holes through the top of the wave, directly over a purlin.
- Drive a 70 mm screw into the purlin and stop when the cap base sits firm; a screw driven too far dents the wave.
- Clip an ASA cap over every screw head.
- Keep to 4 – 5 screw sets per m², about 400 – 500 on this roof.
- Never screw in the valley, where the water runs.
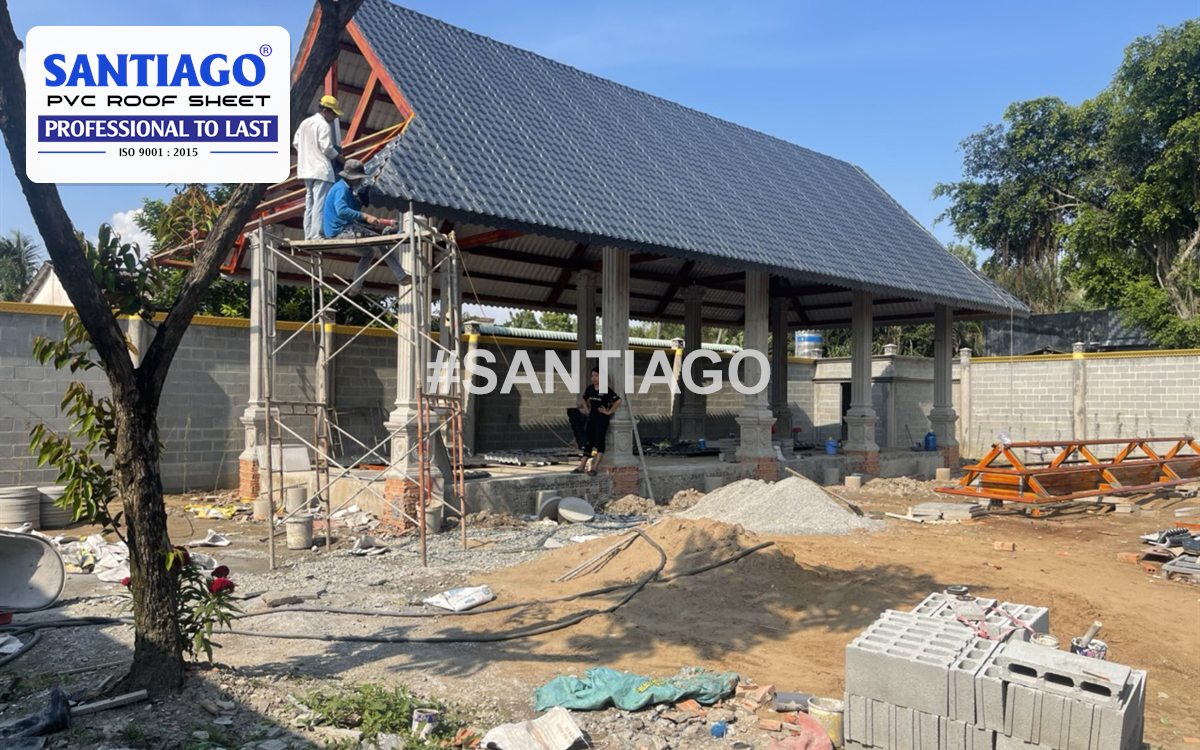
Open pavilion under construction with a dark grey tile-sheet roof, Long An, Vietnam
Step 5: When does the ridge cap go on?
The ridge cap (caballete for lámina UPVC) goes on after both faces are laid and screwed. Fix it into the top purlin, 15 – 18 cm below the ridge, through the top of the tile profile, and close each open end with a ridge terminal. Then fit the eave sealing tiles along both eaves and the vertical wall flashing wherever the roof meets a wall. On a hip roof, the diagonal ridge covers each hip, a three-way piece sits where the ridge meets two hips, and a four-way piece tops a pyramid roof. All pieces come in the sheet colours: dark grey, red, blue, orange or chocolate as standard.
Final check before the crew leaves
- Every screw has an ASA cap and none sits in a valley
- Every lap covers one full wave
- Ridge terminals are fixed at both ends
- Metal filings and offcuts are swept off the roof
- The owner has the warranty terms: 10 years for 2.5 mm and thicker when installed as Santiago recommends
What does a PVC tile roof look like while it is being installed?
Mr Quyen shows a green ASA/PVC sheet in the Santiago factory, then climbs onto a grey tile-profile roof that installers are still screwing down. Near the end he and a colleague walk along a finished grey tile roof next to the gutter.
Santiago uPVC tile roofs on site (Santiago video on YouTube).
Short videos for installers in Latin America
The clips below come from Santiago's own YouTube channel and were filmed at the factory in Vietnam or on Santiago roofs.
How tough is the sheet before it goes on the roof?
The 26-second short shows a Santiago truck rolling across two blue sheets on the yard, one tile-profile and one corrugated. Treat it as a demonstration: on a roof, purlins still go less than 700 mm apart.
Truck test on Santiago ASA/PVC sheets (Santiago video on YouTube).
How do you tell the top face from the underside?
Filmed inside the Santiago factory: a worker steps onto a white tile sheet, red and blue sheets get a torch test, and the last scene is the team beside an export container.
Santiago tile sheets at the factory (Santiago video on YouTube).
What happens to a ridge piece under a truck tyre?
Three quick scenes from Santiago: a ridge piece under a truck wheel, a torch held to blue and red tile sheets in the yard, and strapped bundles of sheets waiting for loading.
Truck, flame and packing: Santiago ASA/PVC sheets at the factory (Santiago video on YouTube).
Santiago – a leading exporter of ASA/PVC roofing from Vietnam
Santiago roofing is produced and loaded into containers at our factory in Vietnam. It has been exported to India since 2023, Thailand since 2024 and the USA since 2025. Every export shipment comes with a commercial invoice, packing list, bill of lading and a certificate of origin (C/O) issued by Vietnam's Ministry of Industry and Trade, which importers use to claim the duty preference of their trade agreement.
| Item | Details |
|---|---|
| HS code | 3925.90.00 (ASA/PVC roofing sheets) |
| Certificate of origin | Form D (ASEAN), Form AI (India), Form AK / VK (Korea), Form AJ / VJ (Japan), Form VC (Chile), CPTPP proof of origin |
| Shipped from | Vietnam, by container |

Certificate of origin Form AI (ASEAN–India) for Santiago ASA/PVC roofing sheets, HS 39259000, certified on 24 September 2026. Buyer details are hidden.
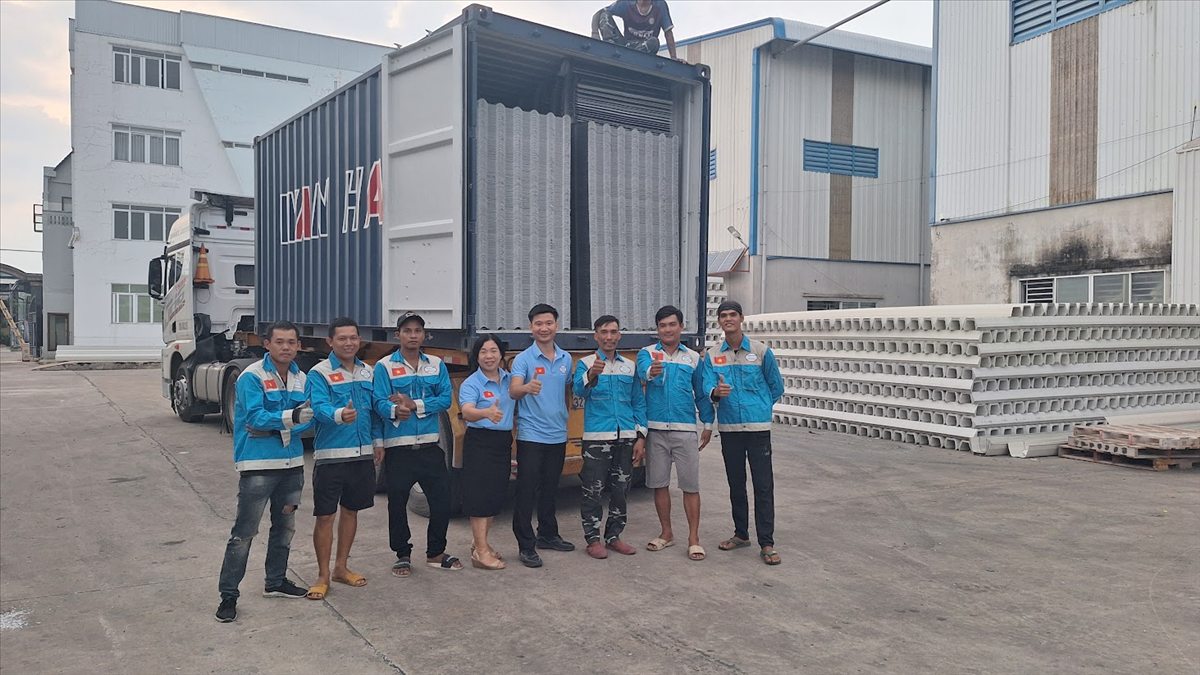
The Santiago team beside a loaded export container at the factory, November 2024
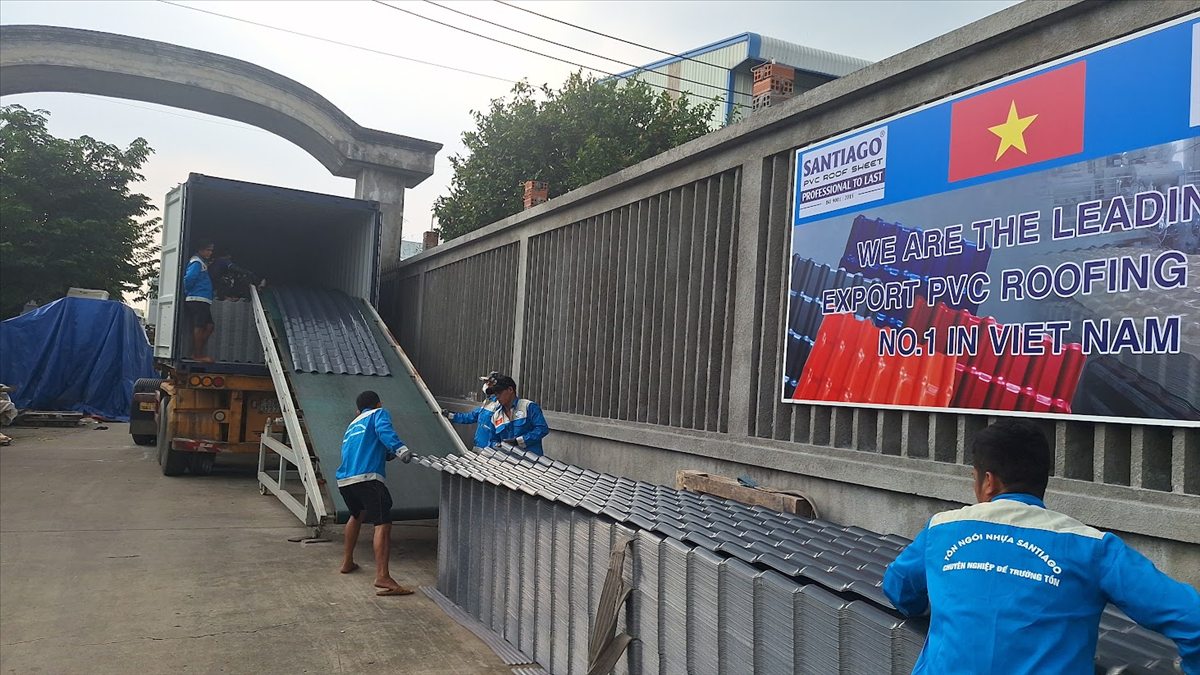
Loading Santiago roof tiles into an export container
Frequently asked questions
How do you install a PVC roof step by step?
Check the frame and a 20 – 45% slope, fix purlins 440 or 660 mm apart, lay the sheets with one wave of side lap, screw through the top of the wave over a purlin with ASA caps, then fit the ridge cap, terminals and eave pieces.
How many screws does a 100 m² PVC tile roof need?
400 – 500 screw sets, at 4 – 5 sets per m², using 70 mm screws with ASA caps.
How far apart should purlins be for PVC roof tiles?
440 or 660 mm, never 700 mm or more, with each purlin under the foot of a 219 mm tile step and the top purlin 15 – 18 cm below the ridge.
Where does the screw go on a PVC roof tile sheet?
Through the top of the wave, directly over a purlin, in a pre-drilled 6 mm hole. Never in the valley.
Does Santiago install the roof?
No. Santiago supplies the sheets and accessories and sends installation videos to your installer.
Read more
- Screws and ASA caps: fixing through the top of the wave
- Roof tile accessories checklist
- How to calculate the PVC sheets for a roof (Spanish)
- How to install PVC roof tile sheets: 8 steps
- ASA/PVC roof tile sheet
Versión en español
Para instalar un techo de PVC paso a paso: revise la estructura y la pendiente (20 – 45%), coloque correas a menos de 700 mm, una bajo el pie de cada paso de teja, monte las láminas traslapando una onda, perfore a 6 mm en la cresta y fije tornillos de 70 mm con capuchón ASA; al final ponga el caballete. Un techo de 100 m² a dos aguas lleva 28 láminas y 400 – 500 juegos de tornillo.
Antes de empezar: estructura y pendiente
La estructura, de acero o de madera, debe estar recta y con una pendiente de 20 a 45%: por cada metro horizontal, el techo sube entre 20 y 45 cm. Tienda un hilo sobre las vigas antes de poner las correas; una viga más alta o más baja se nota después como una lámina que cojea. Santiago no instala, pero envía videos de instalación con cada pedido.
Cómo armar el techo de PVC: correas y láminas
Las correas (polines o largueros en México) van a 440 o 660 mm, nunca a 700 mm o más, cada una bajo el pie de un paso de teja: 2 pasos de 219 mm son 438 mm y 3 pasos son 657 mm. Marque los pasos con tiza sobre una lámina en el suelo y páselos a las vigas. La correa superior va 15 – 18 cm por debajo de la cumbrera para fijar el caballete. Este es el material para una casa de 12,7 m de largo con dos faldones de 3,94 m (18 pasos):
| Material | Cantidad para 100 m² |
|---|---|
| Teja colonial ASA/PVC 2,5 mm | 28 láminas de 3,94 m (14 por faldón) |
| Correas a 660 mm | 7 por faldón, 14 líneas de 12,7 m |
| Tornillos de 70 mm con capuchón ASA | 400 – 500 juegos |
| Caballete | 12,7 m |
| Remate de caballete | 2 |
| Cierre de alero | 25,4 m |
| Peso de las láminas | unos 540 kg |
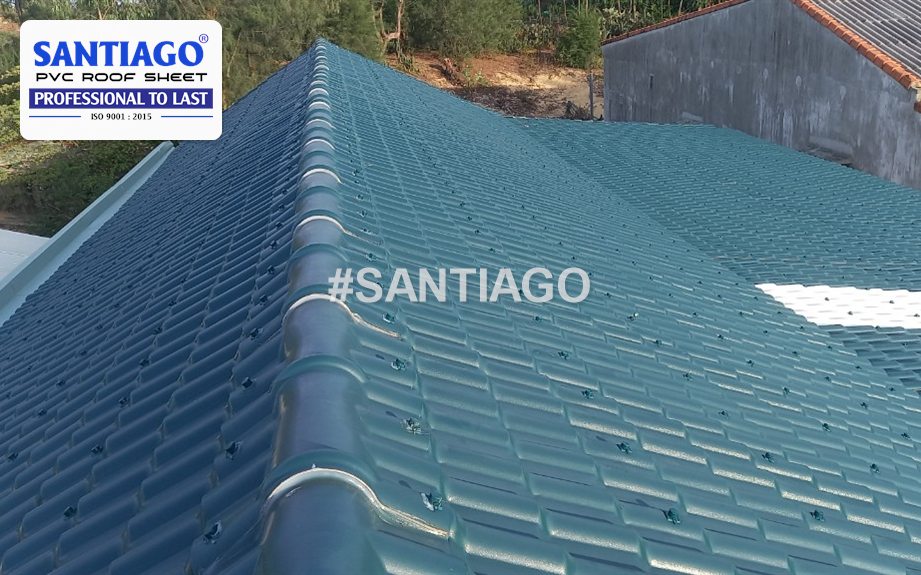
Techo de teja ASA/PVC verde con caballete, Binh Dinh, Vietnam
Fijación: ¿dónde va el tornillo?
Empiece en un extremo, escuadre la primera lámina con el alero y traslape la siguiente una onda. Perfore a 6 mm por la cresta de la onda, justo encima de una correa, y atornille hasta que la base del capuchón quede firme, sin hundir la onda. Ponga un capuchón ASA en cada tornillo, a razón de 4 – 5 juegos por m². Nunca atornille en el canal, por donde corre el agua.
Instalación de la teja colonial en PVC: caballete y remates
El caballete de la lámina UPVC se coloca cuando los dos faldones están fijos, atornillado a la correa superior. Cierre cada extremo con un remate, ponga el cierre de alero en ambos aleros y la tapajunta donde el techo toca un muro. En techos a cuatro aguas se usan limatesas y piezas de tres vías; en techos de pirámide, la pieza de cuatro vías. Todo viene en los colores de la lámina. La garantía es de 10 años para 2,5 mm o más, si se instala como recomienda Santiago.

Dos casas de una planta con techos de teja ASA/PVC naranja, Ba Ria – Vung Tau, Vietnam
Preguntas frecuentes
¿Cómo se instala un techo de PVC paso a paso?
Se revisa la estructura y la pendiente, se ponen las correas a 440 o 660 mm, se montan las láminas traslapando una onda, se atornilla por la cresta con capuchón ASA y al final se coloca el caballete con sus remates.
¿Cuántos tornillos lleva un techo de PVC de 100 m²?
Entre 400 y 500 juegos de tornillo de 70 mm con capuchón ASA, a razón de 4 – 5 por m².
¿A qué distancia van las correas en un techo de teja de PVC?
A 440 o 660 mm, nunca a 700 mm o más, con cada correa bajo el pie de un paso de teja de 219 mm.
Sources for the figures in this article
- Profiles, 2.5–3.0 mm thickness and 10-year warranty: Santiago ASA/PVC product specification.
- HS code 3925.90.00: Harmonized System Chapter 39 (builders' ware of plastics), as applied in Vietnam's export tariff.
- Certificates of origin (Form D, AI, AK/VK, AJ/VJ, VC, CPTPP): issued by Vietnam's Ministry of Industry and Trade under the country's free trade agreements.
- Minimum order of one 40 ft container (about 5,000 m) and about 5 days for production and loading: Santiago export desk, October 2026.
Updated 03/11/2026. Santiago Import Export Co., Ltd, Vietnam. WhatsApp +84 935 391 495 (Mr. Quyen), hotline +84 965 437 316 (Mrs. Ly), email salessantiagoroofing@gmail.com.


